

You’ve cleared the calendar, lined up your contractor, and picked out that perfect luxury vinyl plank… then someone asks, “Are we doing floors or paint first?” In many Central Indiana remodels, this single question can add days of rework or save you a lot of headache.
Here’s a practical, step‑by‑step way to think about sequencing floors, paint, and trim so your project runs smoother and your new finishes stay protected.
Start With a Plan: What’s Changing and What’s Staying?
Before you talk order, it helps to be clear about scope. The sequence is slightly different depending on whether you’re:
- Keeping existing trim and doors
- Replacing baseboards and casing
- Moving walls or opening up rooms
- Installing new luxury vinyl in just one area or across an open main floor
In many newer homes around Carmel or Fishers, we see open layouts where continuous LVP ties together kitchens, great rooms, and hallways. In those projects, planning the flooring layout, transitions, and trim details up front matters just as much as the color you choose. Looking through current luxury vinyl plank options can also help you decide how bold or subtle you want the floor to feel against your walls.
Key idea: Decide what stays, what goes, and where you want continuous flooring before anyone opens a paint can.
Floors vs. Paint: Which Comes First?
You’ll hear arguments both ways, but in most lived‑in remodels with luxury vinyl, this is the sequence that tends to work best:
- Ceilings and wall prep first.
Get patching, sanding, and any ceiling painting out of the way before new floors arrive. This is the messiest stage.
- Install the new flooring next.
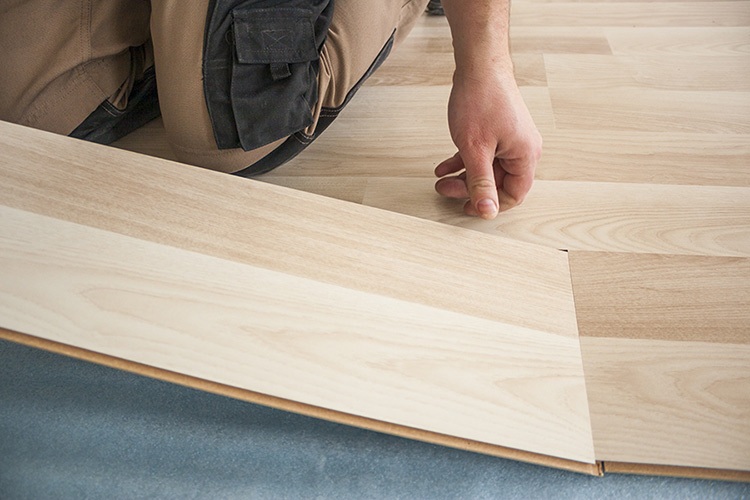
With LVP or other hard surfaces, we typically like floors installed before final wall and trim paint. That allows baseboards or shoe molding to be set precisely to the new floor height, and it avoids cutting in paint around old trim that may be removed. If moisture is a concern (basements, slab-level rooms), it can be worth comparing waterproof flooring options at this stage as well.
- Then paint walls and trim.
Once the floor is down and protected with rosin paper or similar covering, painters can cut clean lines to the new baseboards and door casing. Any nail holes or caulk lines get painted once, at the final height.
Why this order works in Indiana homes: Our freeze‑thaw cycles and seasonal humidity mean floors need proper expansion gaps and stable trim to cover them. Putting the floor in first lets your installer and painter coordinate those gaps and caulk lines instead of guessing.
Where Trim Fits Into the Sequence
Trim is the bridge between floor and wall, so its timing matters.
- If you’re keeping existing baseboards:
They can stay in place while LVP is installed with a small expansion gap, then covered by new shoe molding or quarter round. In that case:
- Prime/first‑coat the walls before flooring.
- Install flooring.
- Install shoe molding.
- Caulk and finish‑paint trim and walls.
- If you’re replacing baseboards:
Old base comes off before floors. After subfloor repairs (if needed) and LVP installation:
- Install new baseboards and casing.
- Fill nails and caulk joints.
- Do final paint on trim and then walls.
For whole‑home remodels where multiple trades overlap, it often helps to have one team coordinating everything our crew handles, from subfloor work to trim details and final flooring installation.
Rule of thumb: Baseboards and casing should be aligned to the finished floor height, not the old one. That’s why trim usually follows floors, with paint as the last “finish” step.
Special Considerations With Luxury Vinyl
Luxury vinyl behaves differently than hardwood or tile, and that affects sequencing:
- Floating LVP needs expansion space.
Baseboards or shoe molding should cover the perimeter gap, so floor layout and trim profile need to be decided together.
- Glue‑down LVT in commercial or high‑traffic areas often pairs with more robust base or rubber cove. Those details are usually installed after the flooring cures.
- Basements and lower levels around Indianapolis benefit from moisture‑tolerant materials; pairing LVP with the right underlayment or alternative products is easier when you’ve already thought through how the floor will meet walls and stairs. If you’re still comparing materials, browsing hardwood species and styles alongside LVP can clarify where each belongs in your home.
If you’re unsure how your chosen product will behave with seasonal humidity or existing trim, seeing samples under your own lighting or at our Westfield and Noblesville showrooms can make the sequencing decisions feel less abstract.
Protecting Your New Floors During Painting
Once the floors are in, protecting them while painters work is the last big step:
- Use breathable paper or cardboard protection rather than plastic sheeting, especially over floating LVP.
- Tape to the paper, not directly to the floor, to avoid residue on wear layers.
- Avoid dragging ladders and paint cans; lift and place instead.
- If you’re adding custom runners or rugs later, it can help to think ahead about area rug options for your home so you know where extra floor protection will live long‑term.
Bottom line: Floors, paint, and trim can’t be planned in isolation. The right sequence protects each layer and gives you cleaner lines, tighter joints, and fewer callbacks.
When you’re ready to map out the exact order for your project — whether it’s one room in Zionsville or a whole main floor in Noblesville — we’re happy to walk through it step by step. You can request a free estimate and use the comments box to tell us where you’re at in your remodel; we’ll help you line up the flooring work with your painter and trim schedule.


